Clerk provides a highly secure backend for storing and managing user data and access to features such as user registration, deletion, password-less login, social login, and much more.
GeniePy uses this Clerk-based backend to provide secure user-management in your application.
Description
User data is sensitive. And as website owners, we should be careful about where and how this data is being stored and kept safe.
Clerk focuses on solving this problem and provides a way for your application to store user data with them in a secure manner. On top of this, they provide access to a ton of features such as registration, login / logout, deletion, social-login (eg. logging in using Google, Facebook, etc.) which can be enabled in a few simple steps.
GeniePy ships with code that delegates all user-management features to Clerk.
Setup
Clerk setup requires a few bits to be in place. Let's go through them one by one.
1. Sign up
The first step, of course, is to sign up for a Clerk account.
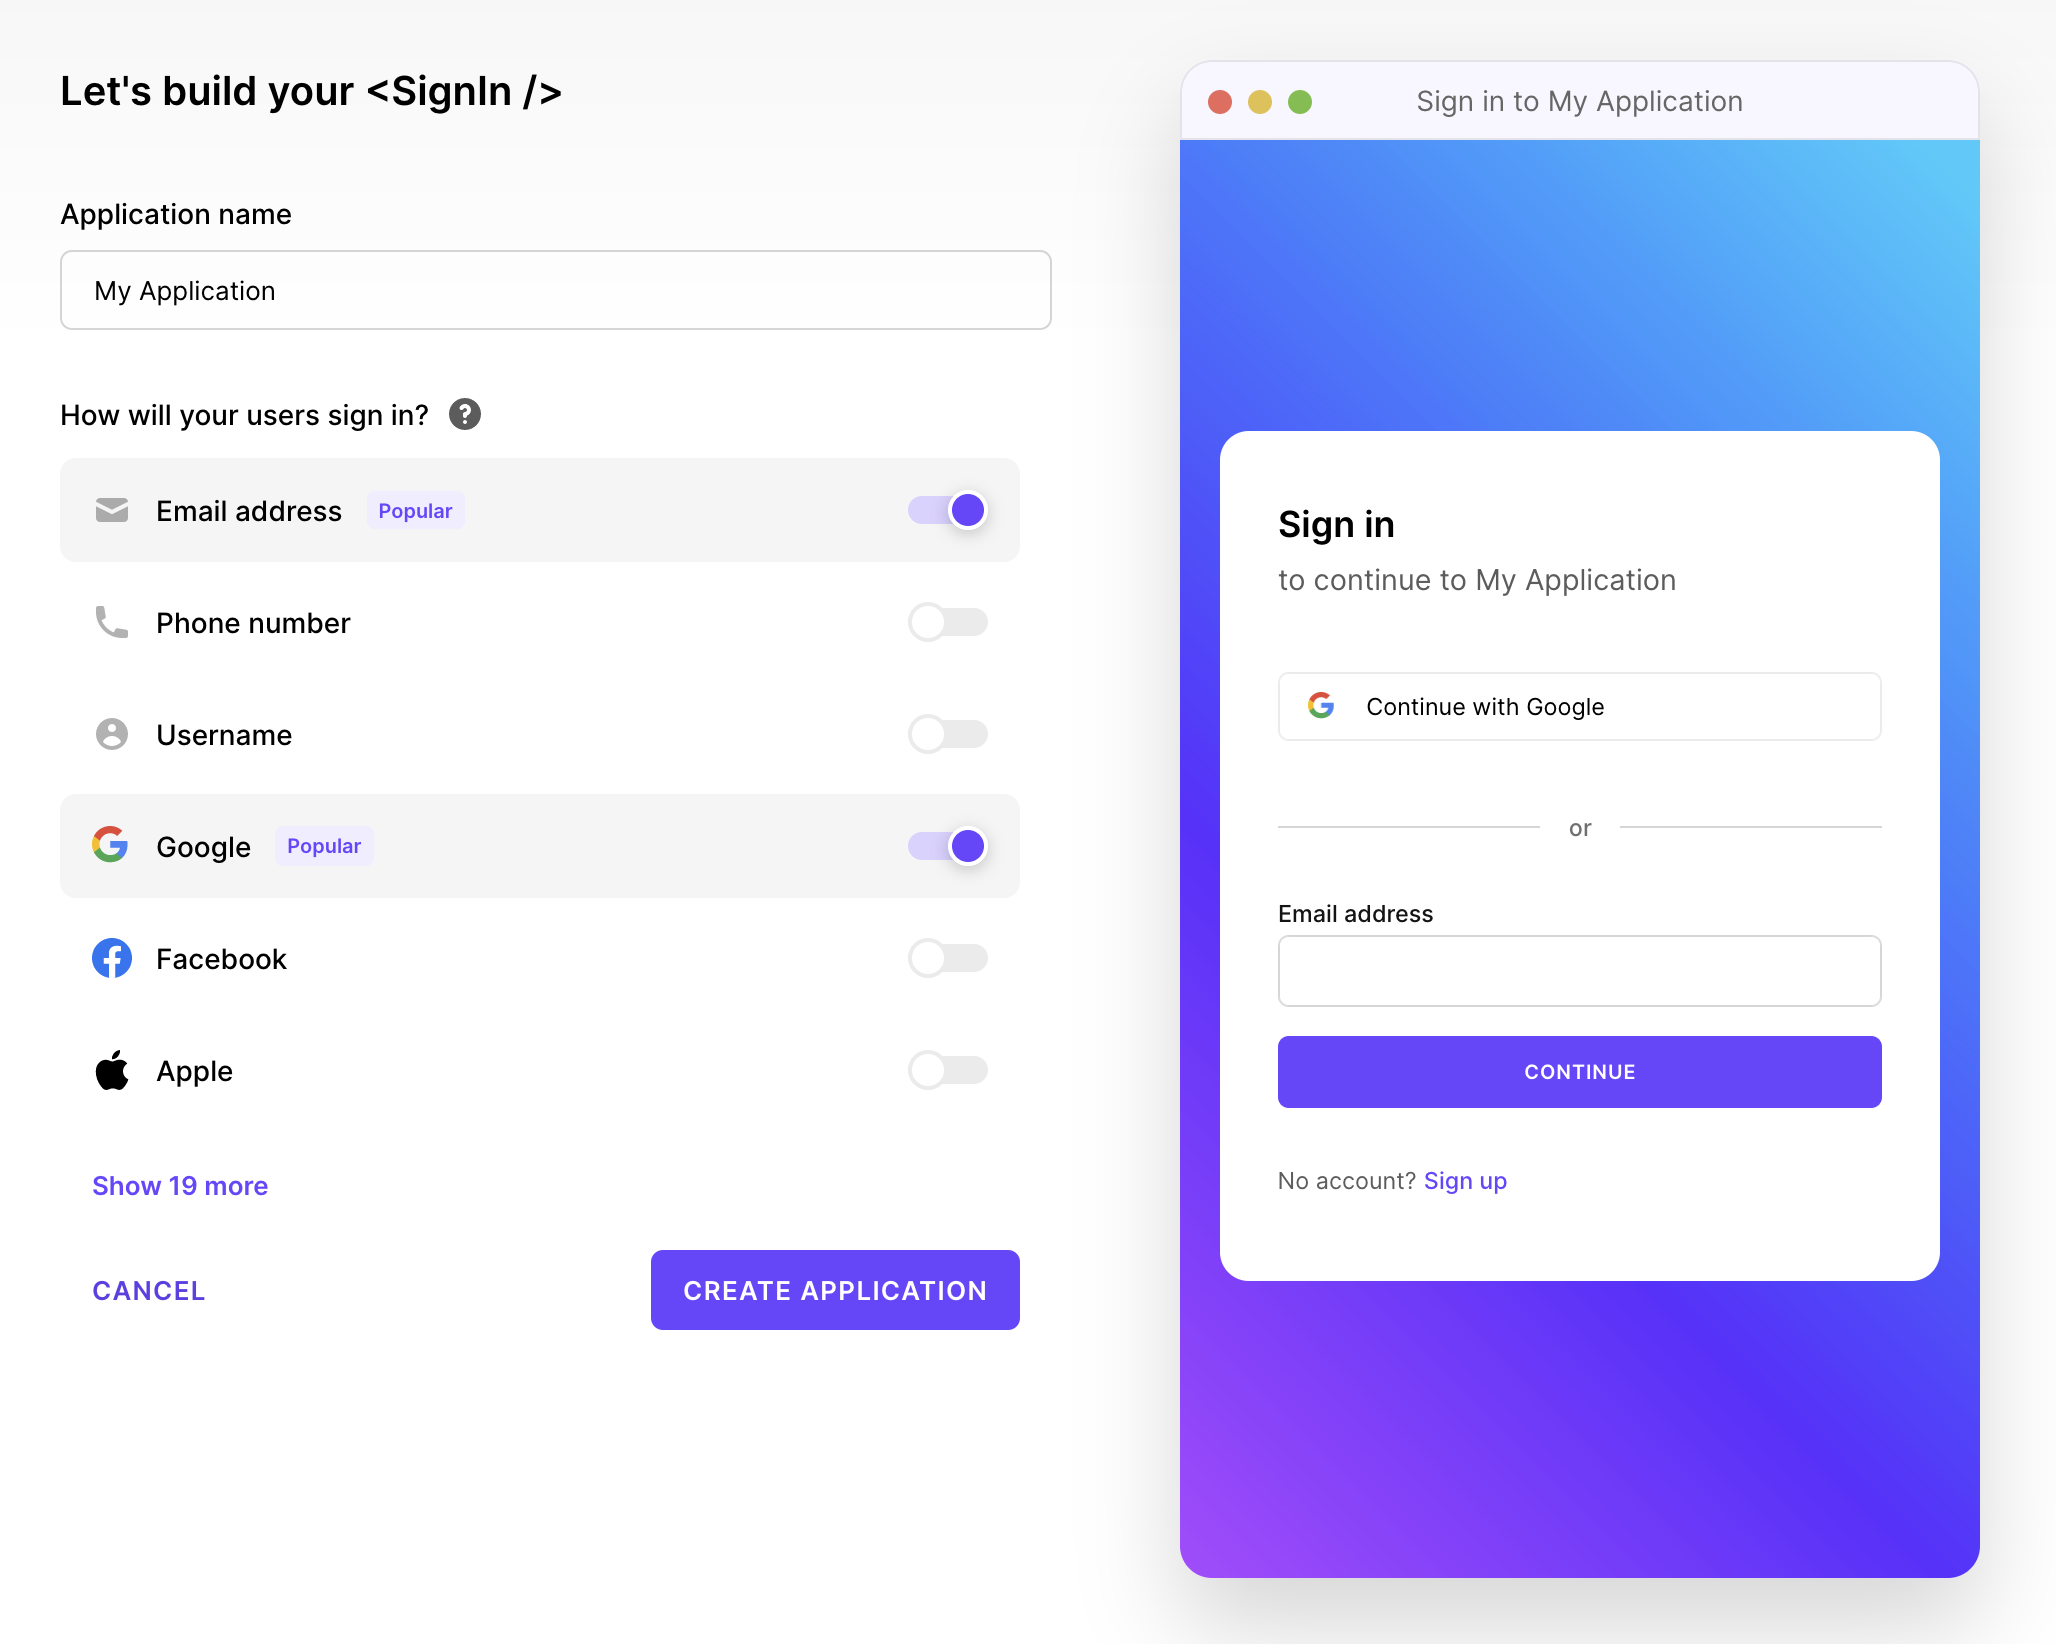
2. Create an Application
The next step is to create an application. This will be where your users and their details will be stored.
3. Configure paths
Next, configure the redirect paths your application will be using to redirect users after they take certain actions on your site, such as signing up for a new account or deleting their existing account.
Navigate to your application and select the "Paths" option under the section called "Developers". Here's a screenshot for easy reference:
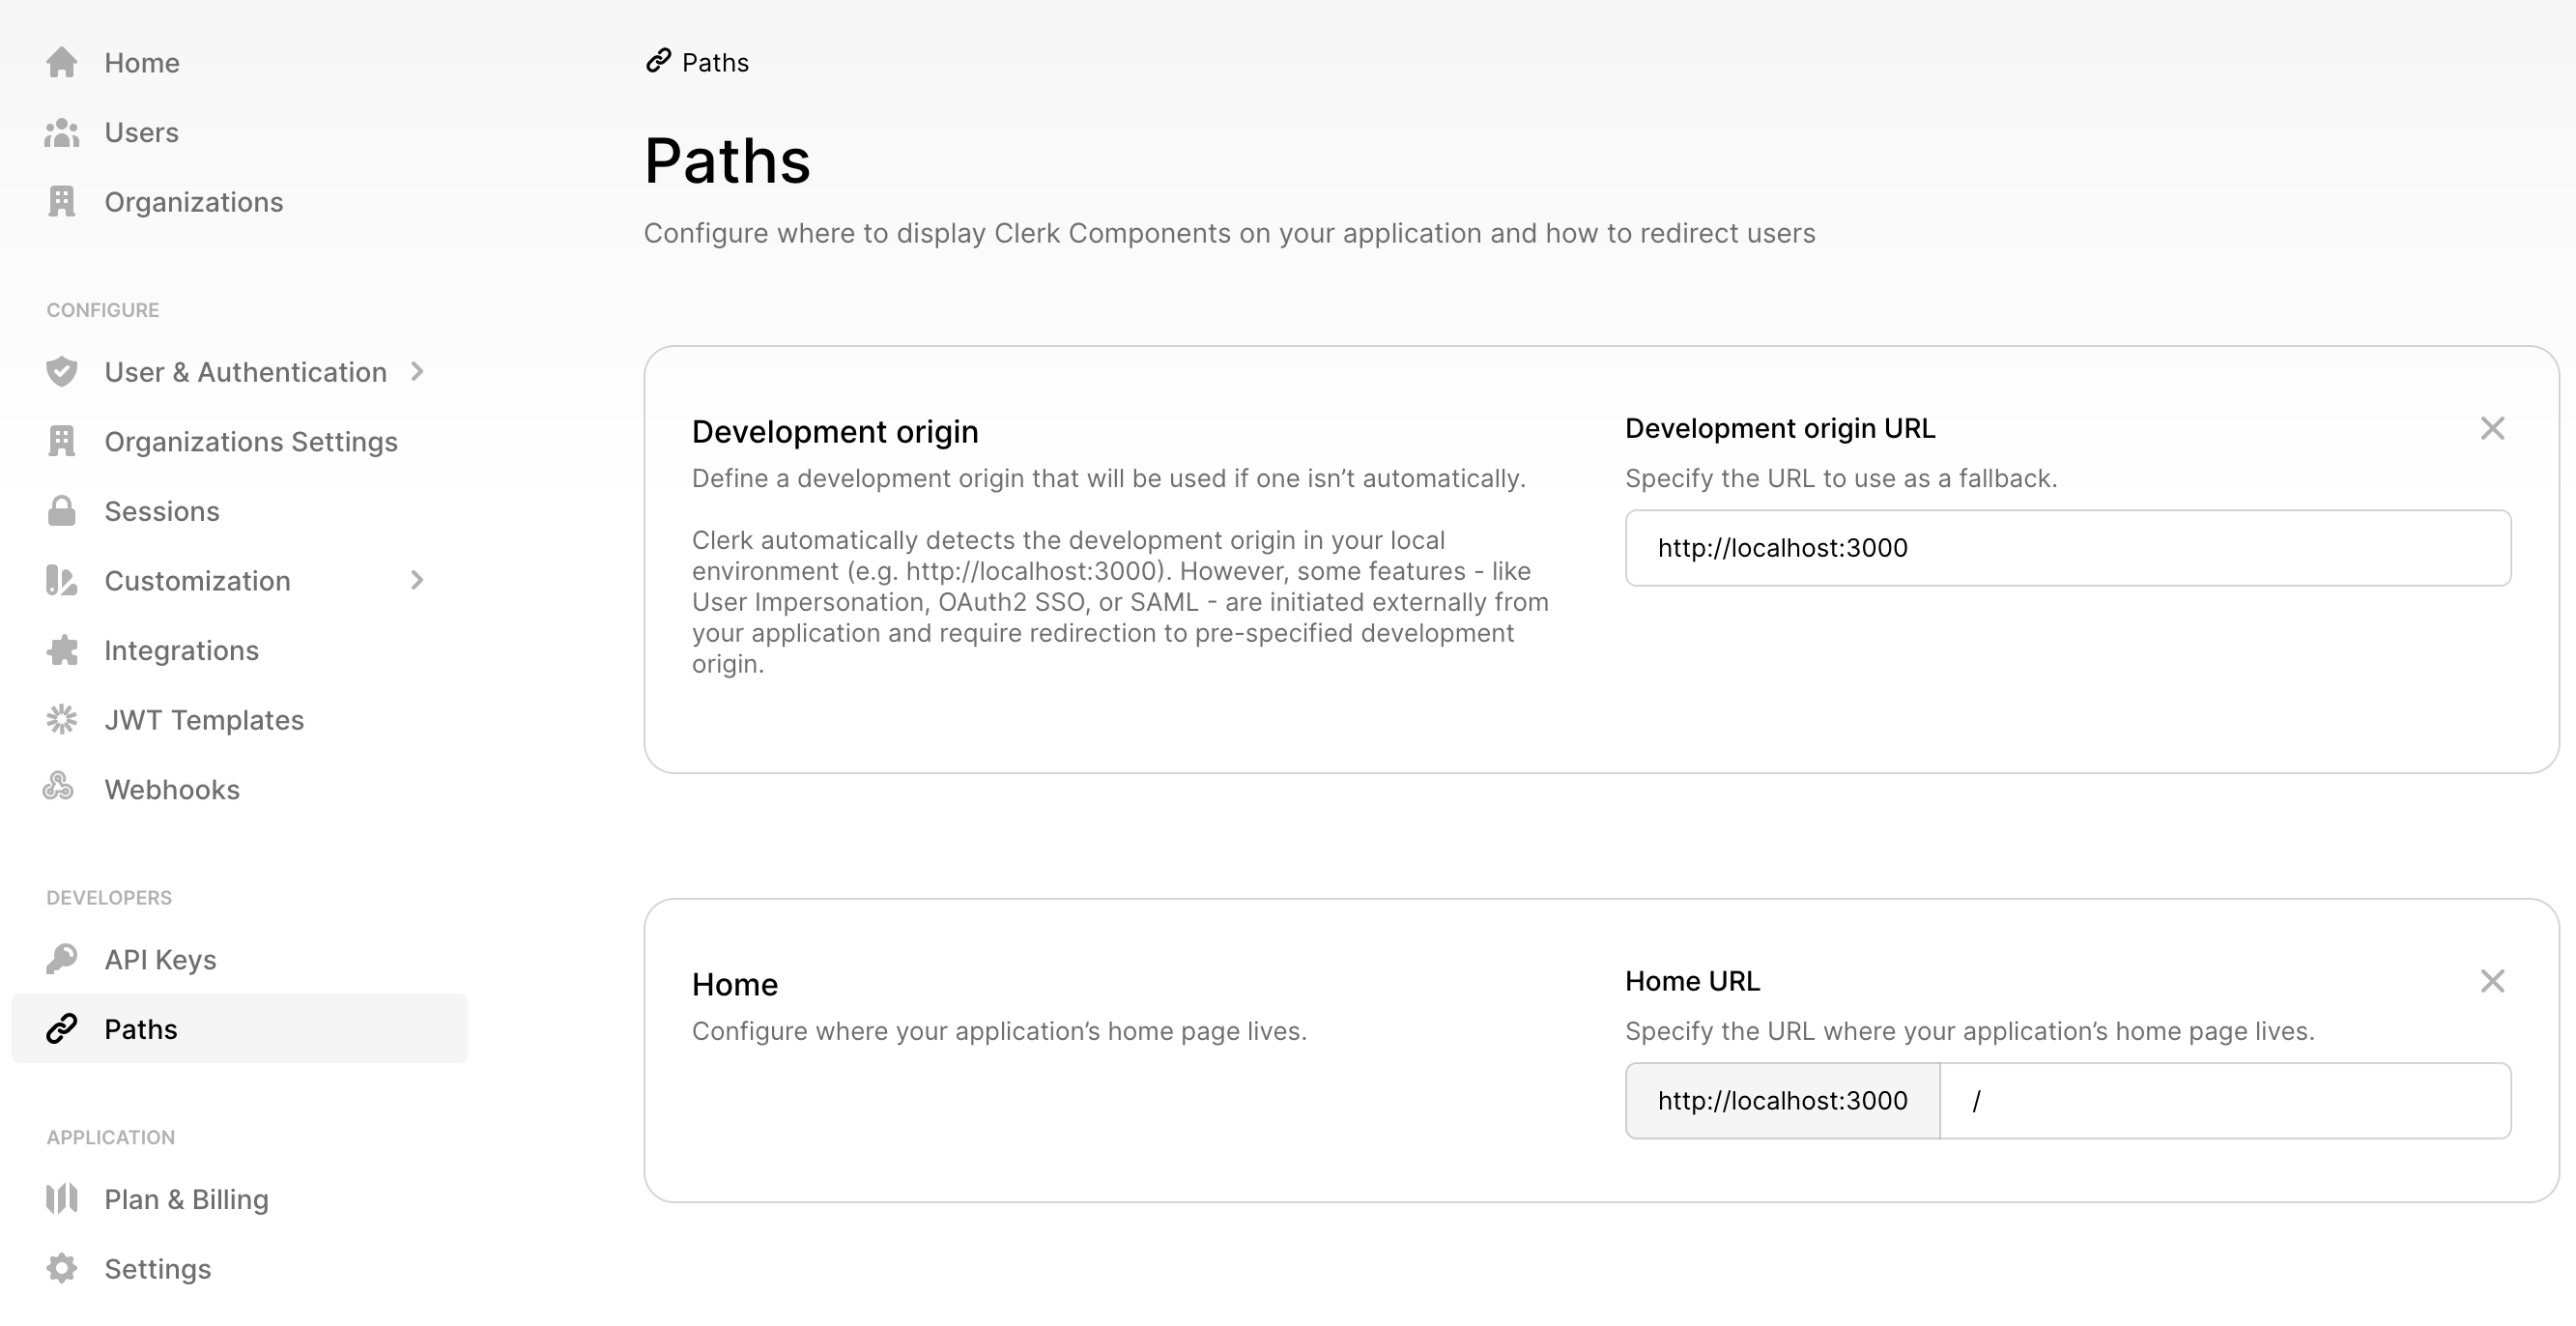
Note that while the screenshot shows paths configured with
http://localhost:3000, this is for local development only and the paths in
your production application will be different.
Configuration
As with everything else, GeniePy expects a few environment variables to be able to talk to Clerk.
CLERK_PUBLISHABLE_KEY: this is the key used from the frontend code.CLERK_SECRET_KEY: this is the secret key used from the backend code.CLERK_INSTANCE_URL: this is the unique instance URL assigned to your application by Clerk.
All these values should be available on your application dashboard: in the "API
Keys" option under the "Developers" section. Add these values in your .env
file and you'll be ready to go.
That's it! After you've gone through the setup and the configuration, restart your application and you should be able to work with users hosted on Clerk.