Most SaaS applications have paid tiers that users can subscribe to for an upgraded experience. If a user is on a paid subscription tier, they have access to more features as compared to free users.
GeniePy provides this functionality out-of-the-box. In this guide we show you how you can configure it.
Description
GeniePy uses Stripe Subscriptions for providing subscriptions.
The application code has the knowledge of what all subscription plans are available and what plan each user is on. The rest of the sensitive information (credit card numbers, billing addresses, etc.) is stored on Stripe, which means you don't have to worry about the security of such sensitive data.
Setup
Register for a Stripe account if you do not already have one.
After you have a verified Stripe account, create Products and the associated Prices within Stripe.
Products are the subscription plans your users will subscribe to and Prices are the monthly price they will pay for access to that plan. How to create those two is outside the scope of this guide, but Stripe has an excellent guide that covers this topic which we recommend working through.
After setting this up, the Products section on your Stripe dashboard should look similar to the following:
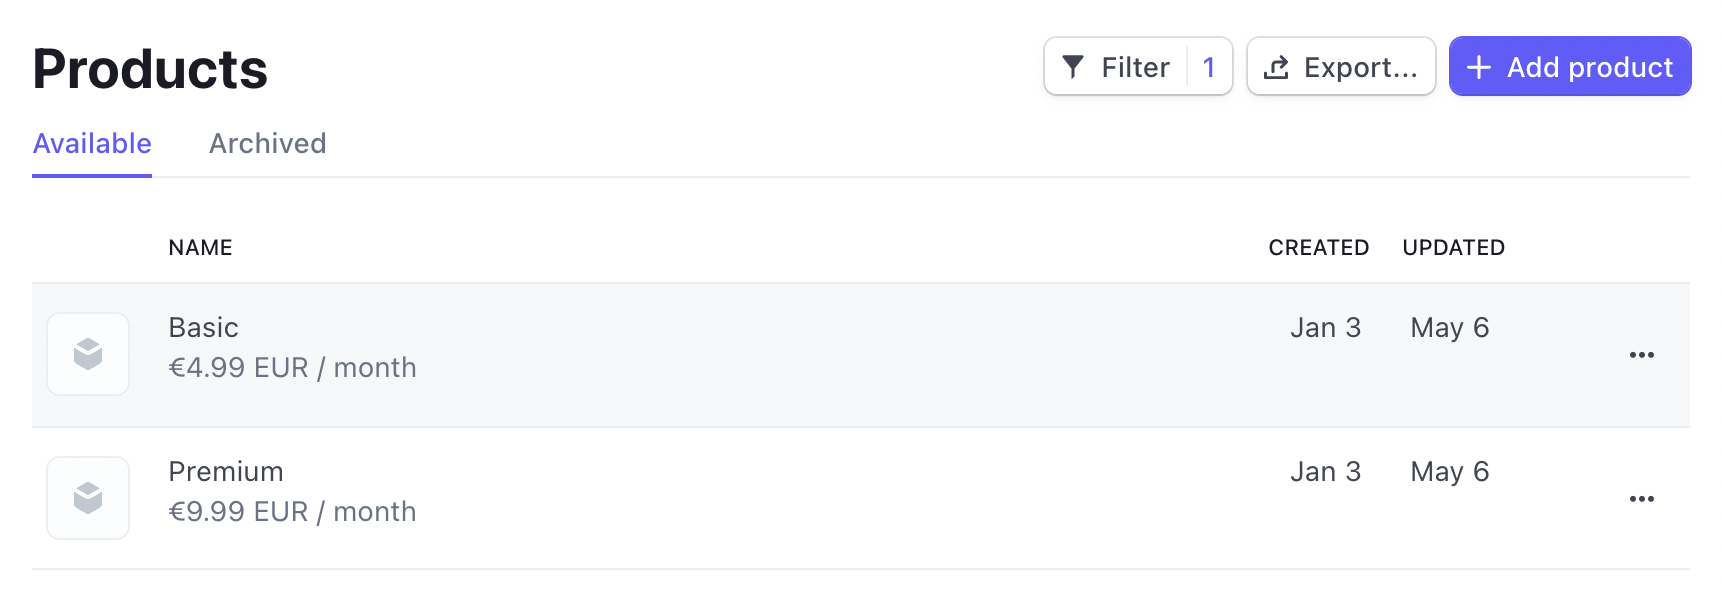
Visit each Product page and copy the "API ID" value. We'll need this information later.
Configuration
1. Environment variables
Set the following two environment variables:
STRIPE_API_KEY: this is the API key you receive from StripeSTRIPE_ENDPOINT_SECRET: the webhook endpoint secret from Stripe that makes the communication between your application and Stripe encrypted
In local development they should be added to your .env file.
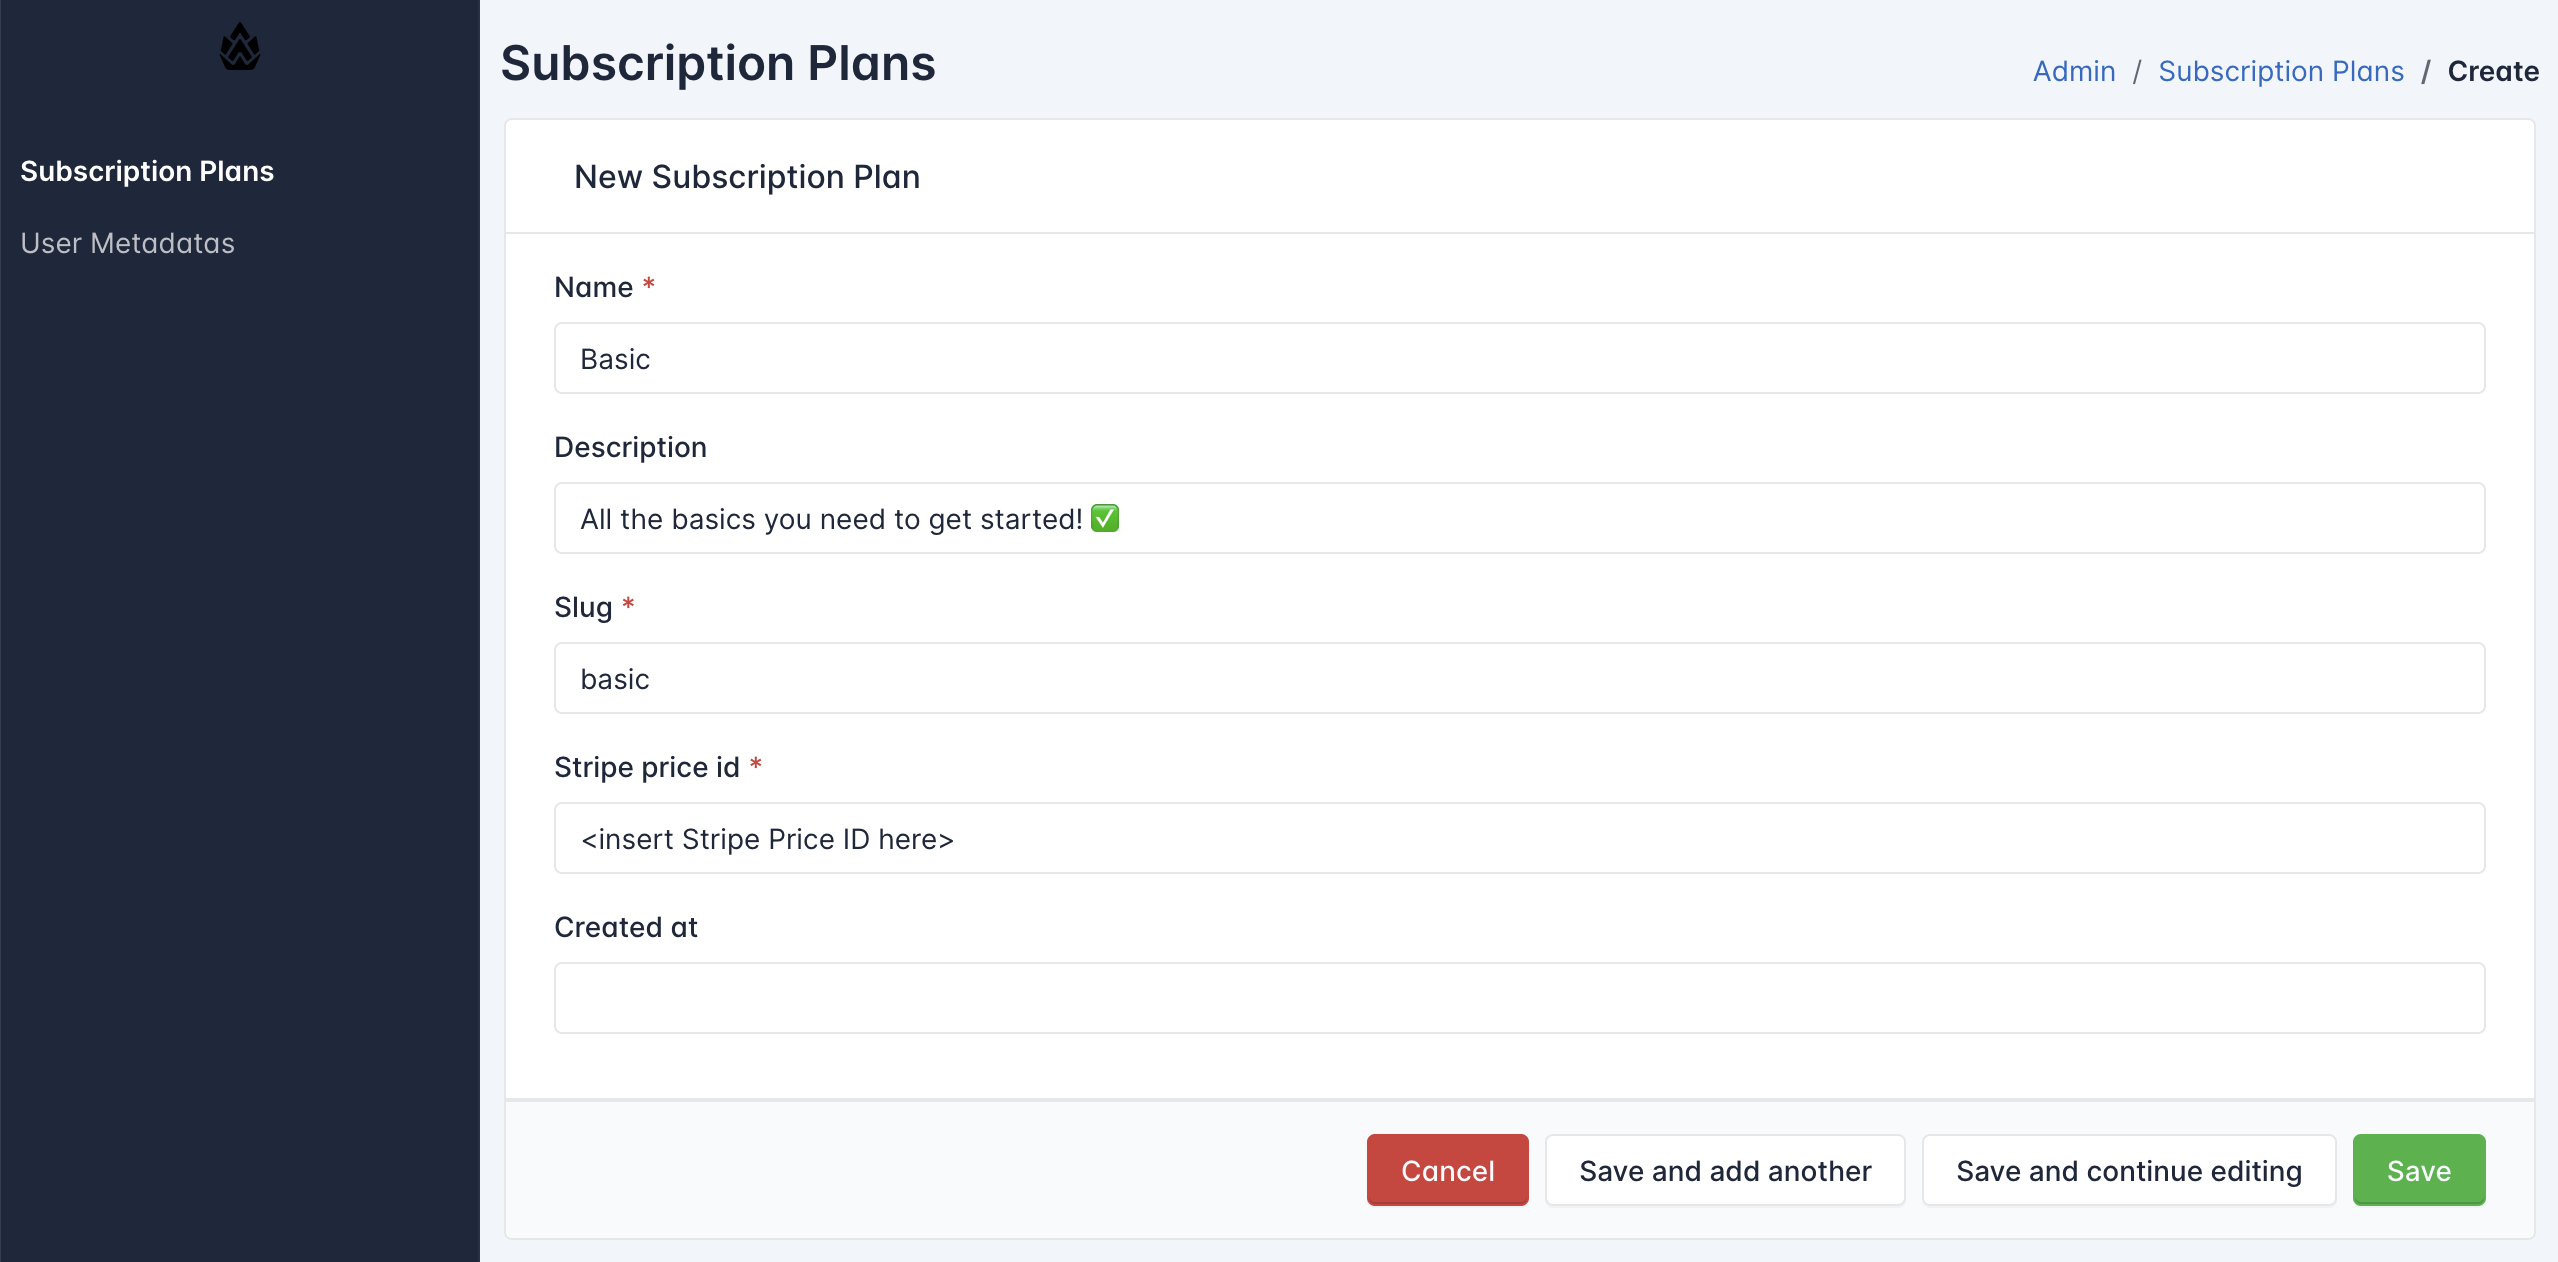
2. Subscription plans
Visit the internal admin for subscription plans. The URL for this in local development should be http://localhost:8000/admin/subscription-plan/list.
Add each of your Stripe products as a Subscription Plan using this UI.
Development
In local development, make sure that the "API IDs" you're using are from Stripe's Test Mode.
In addition, Stripe communicates with applications using webhooks. In production, this is easy because the production application is publicly available to everyone. For local development, we use the Stripe CLI.
Run poetry run task stripe in a separate terminal/tab, which should start a
webhook listener locally that listens to (test) webhook events from Stripe and
relays them to your application server running locally.
Production
Whenever customer payment details change on Stripe's end, they need to communicate this to your application using webhooks so your application can act accordingly. For instance, if a payment could not be charged, Stripe will notify you of this fact, and you as the application owner could decide to "downgrade" the user to a free plan until their payment succeeds.
To set this up, add a webhook endpoint in the Stripe interface that points back to your application.
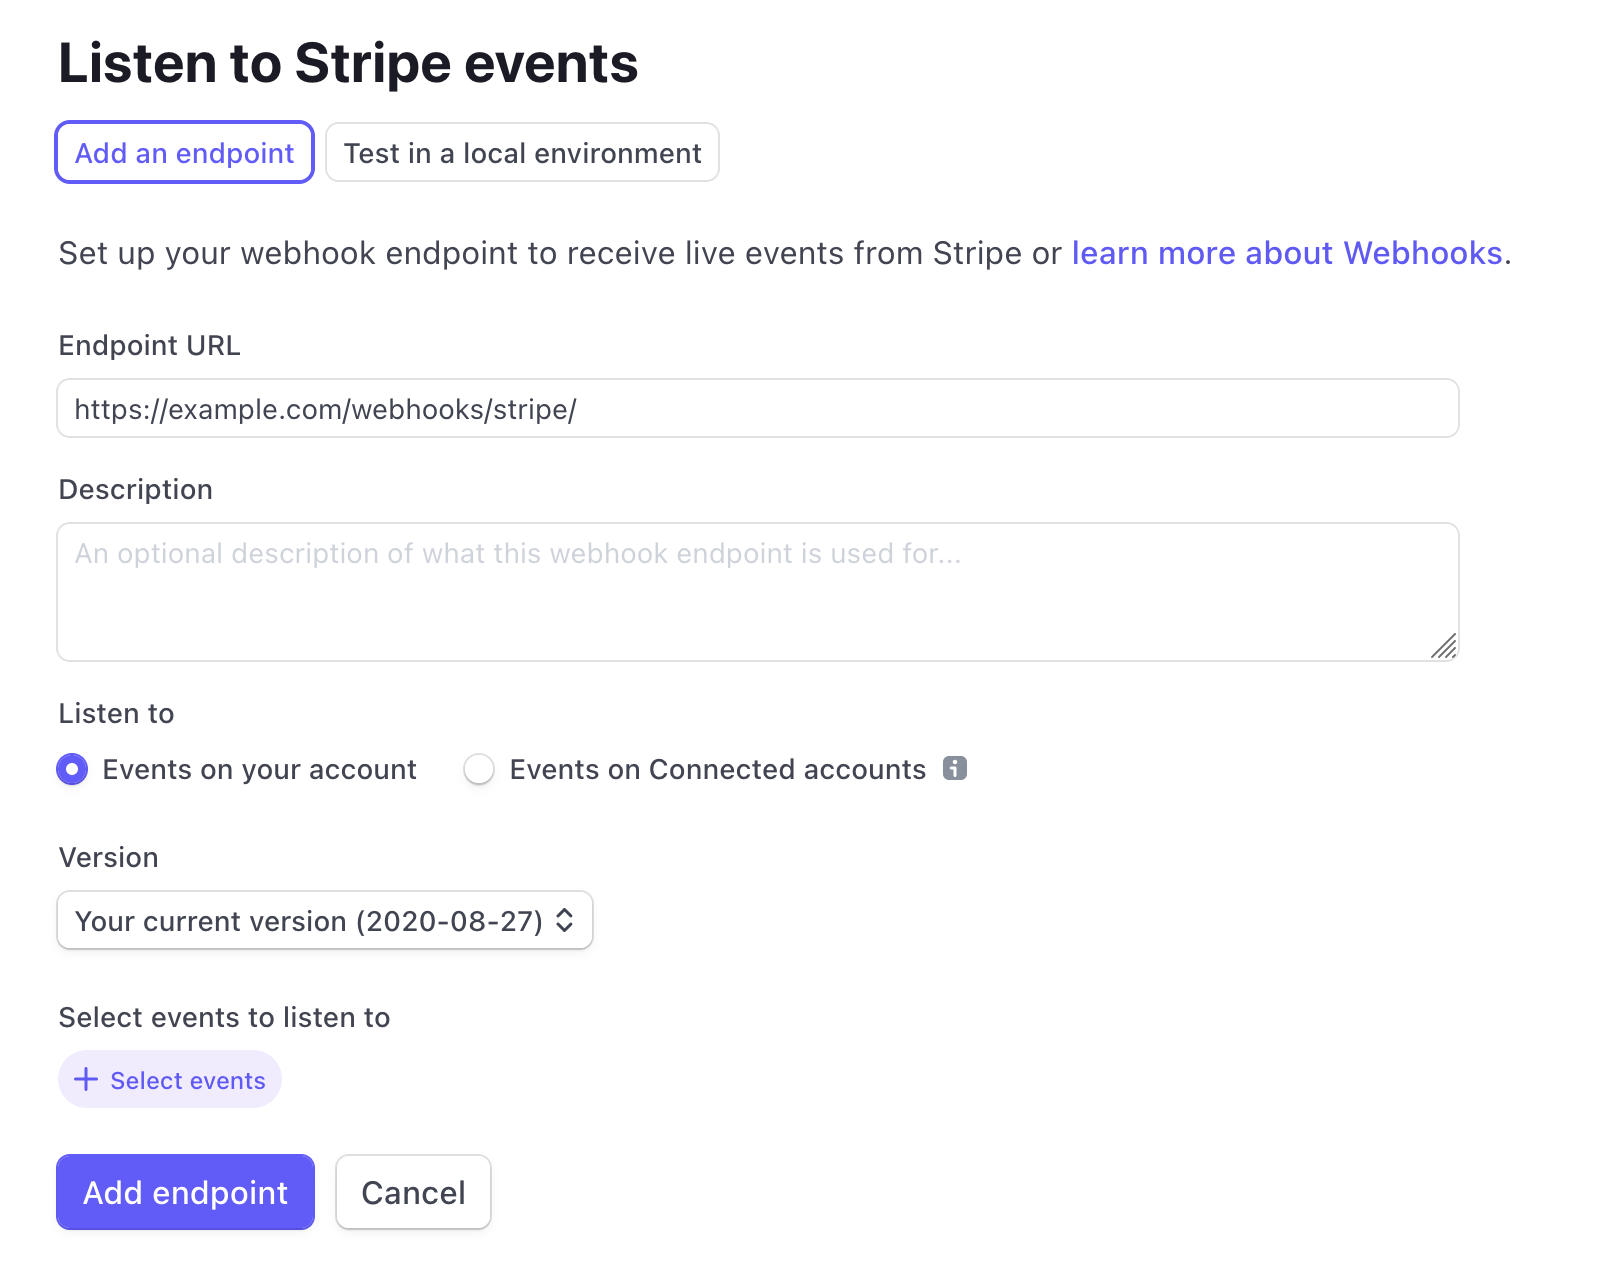
Note that the "Endpoint URL" field should correspond to the URL where your
application is deployed and available to everyone. The /webhooks/stripe path
is where your application is able to process incoming webhooks from Stripe.
After you've gone through the steps above, your application should be ready to accept payments from users and have them subscribed to the subscription plans you've configured!